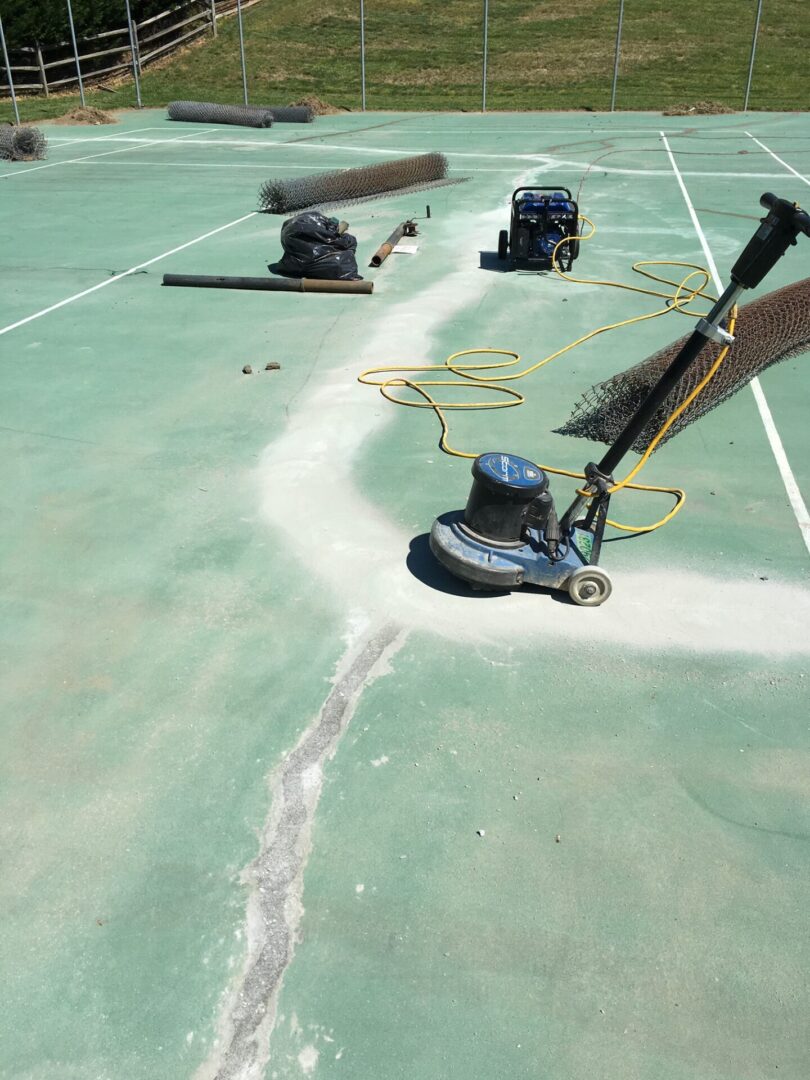
Tennis Court Resurfacing Course
Day 1
- Introductions 8-815
- Hand out syllabus
- Go over Course outline/syllabus 8:15-30
Court inspection
Upon arriving at the tennis court, you should begin a general inspection, not concentrating on any one area. Take the whole court and its surroundings in. In many cases Tennis courts are built in areas of the neighborhood where construction material has been buried or in unsuitable areas for homes
- Check for water bib availability and pressure—making sure the water pressure is sufficient for pressure washer
- Check for electrical hook up
- Check parking area, concentrate on accessibility to the gate for loading and unloading
- Check gate to ensure it does not drag across court. This will cause damage to the new color coat
- Check the fence and the foliage close to it—you may need to trim the bushes or the grass away from the court
- Check the drainage around the court—make sure the court/asphalt is higher than the surrounding pine straw or grasses
- Check the surrounding area around the court to see if the ground is sloped toward the tennis court. Water may flow under the court and penetrate through the court cracks. This makes crack filling or patching more difficult or possible for long term success
- Check for lighting
- Check the net to see if it needs to be replaced, check the center net strap anchor and crank/reel/handle
Court Inspection II
- Measure the court—How many gates
- Measure the lines
- Measure the linear footage of all cracks. Best to measure inner court then outer court or vice versa
- Make a note of width of cracks if they are one inch or more
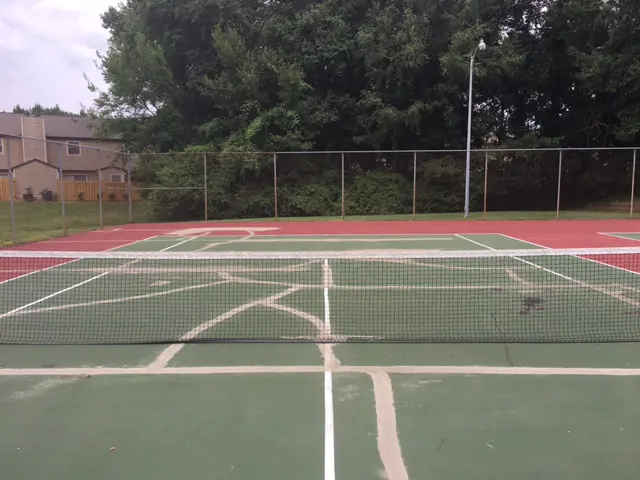
- Be sure to lift net and check for cracks
- Cracks around fence post and net post are due to the difference in expansion and contraction between the concrete footings and the asphalt. They will always reappear. Count these cracks in your measurements
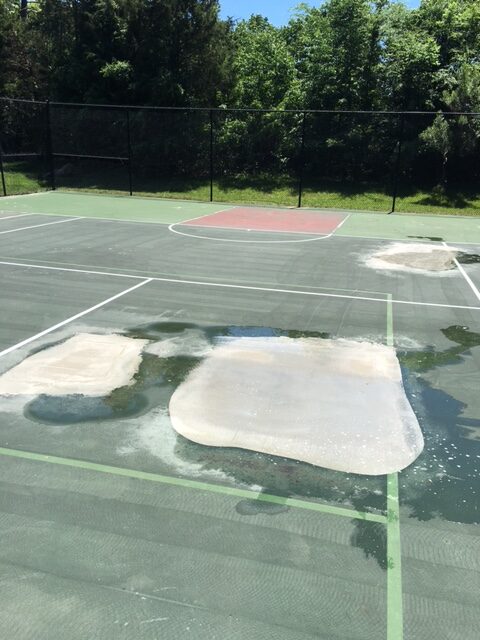
- If it has recently rained check for low areas (Birdbaths). No rain check for darker dirtier areas on the court. This is a sign that water has been sitting in this spot. While pressure washing court, you will note/photo low areas where the water is standing
- For older courts make sure there are no alligator scaling or large amounts of small cracks (Spider Cracks) concentrated in large areas
- Ask owner/HOA rep if available when the last time the court was resurfaced.
- Check the color and for visible signs of asphalt –showing how worn the coating is
- Check the coating to make sure it is not coming up in sheets—sometimes the coating is not adhered well to the court and it is floating on top of the asphalt. The coating must be removed prior to laying the resurface coat
Course Classes
What size cracks need to be filled—
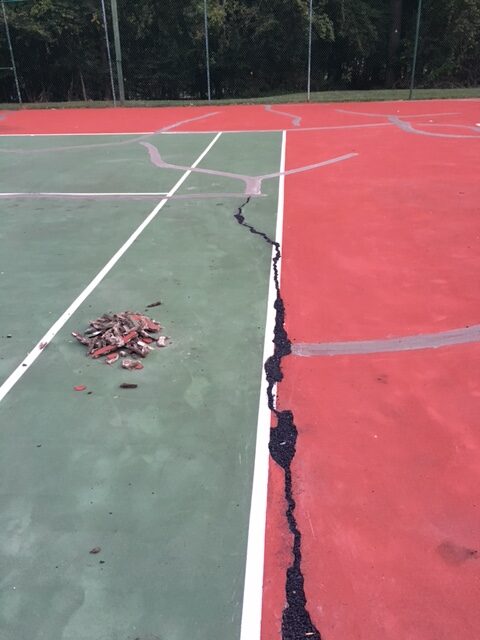
All cracks that are open need to be filled and leveled—this is especially true to the edge of the crack fill material— (like sheetrock finishing)
How to fill cracks
Prep cracks to be filled
Cracks should be cleaned (Pressure washed) along with the court. Depending on the amount of soil in the cracks it can make cleaning the court much more difficult with all the dirt from the cracks having to be pressure washed off the court. You can clean the cracks out with a screwdriver and vacuum—screwdriver and broom or buy a Pro Crack Cleaner or a Billy Goat Grazor—Buy an edger and adapt a wire wheel for cleaning the cracks.
Material required to fill top of cracks
- Mixture of Portland, Sand (50-60mesh) and Concrete Patch Binder—1-part Portland to 4 parts Sand is Standard but 1-5.6.7 or 8 works well. We recommend 1-6 to start with.
- Mix the Portland and sand together first with a ½ drill with a paddle mixer.
- Mix in a 5-gallon pail. After mixed start pouring in Concrete Patch Binder until the consistency is like a milk shake or for wider cracks like peanut butter.
- Buy or cut paddle mixer down just for the 5-gallon pail. This will keep the pail from falling over from the weight of the drill. After mixing put paddle mixer in 5-gallon pail of water and rotate mixer to keep clean. Running your hand down the mixer shaft to clean as well.
- Fill cracks with sand (Any type) Use a blower to remove loose sand on either side of cracks. This will also lower the height of the sand in the cracks to approximately 1/8th of an inch. Once this is completed you can fill the remaining with your Portland mix
- Use a large stainless steel hand scoop to extract mix from pail and place along crack. If cracks are large pour from a more applicable device
- Use the V Squeegee to smooth out the fill. This usually requires at least two passes. One each way to completely fill the voids and leave a smooth level crack fill
